The handmade process
Behind every Tamano piece is a process that values slowness, attention, and natural materials. Here is how each piece is made — by hand, from start to finish.

Design development
The purpose, dimensions, and shape of the product are determined. A sketch is made showing all the elements — the handle, pockets, lock, seam lines. It is also important to consider the thickness of the leather, as this affects the construction.
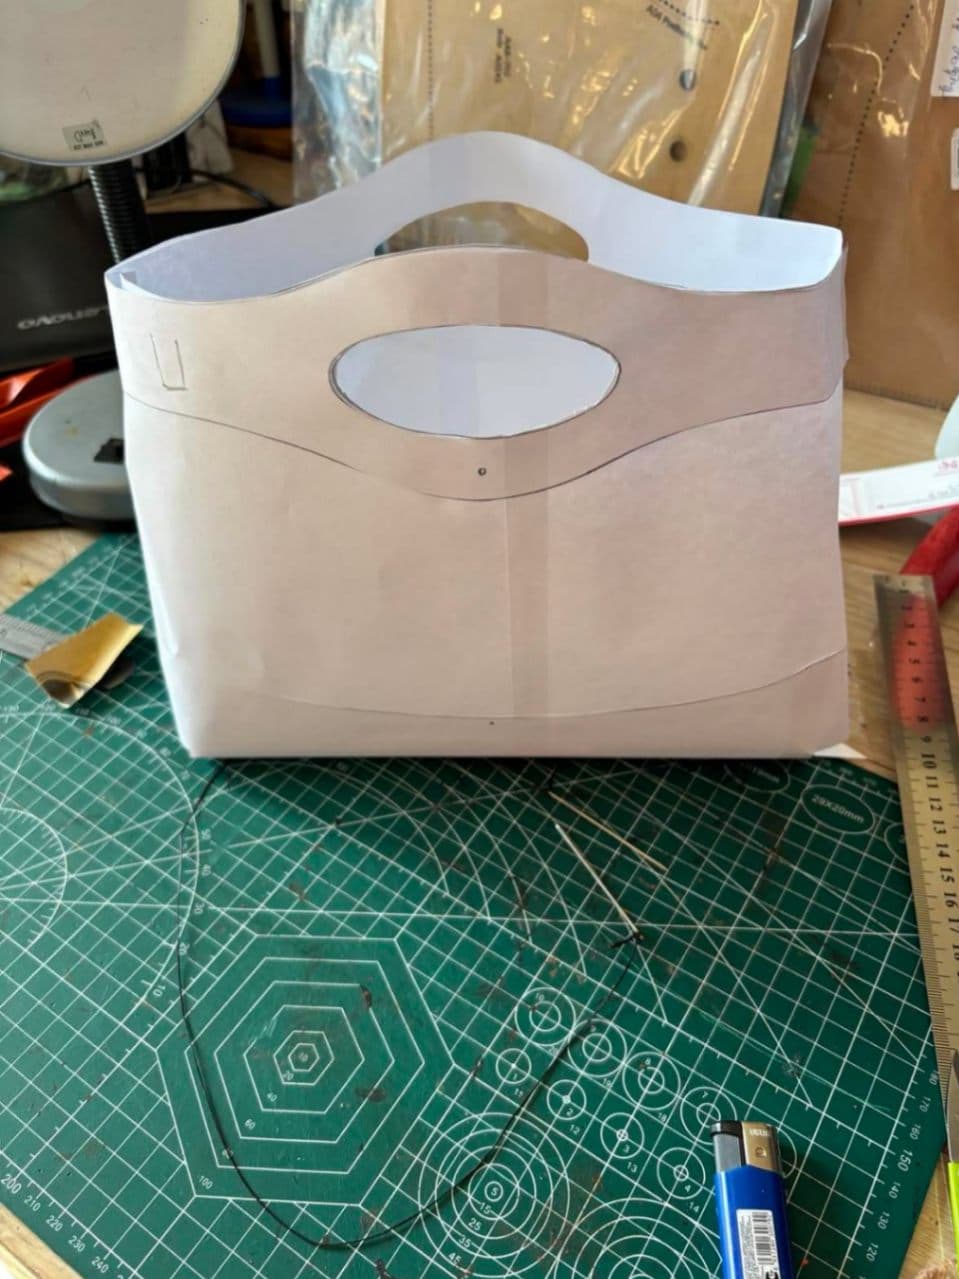
Making a pattern
An accurate template is made on cardboard or special plastic (rigid template) based on the sketch — this is especially important if you will be repeating the same model in the future. The locations of the sewing holes are also marked on the template.
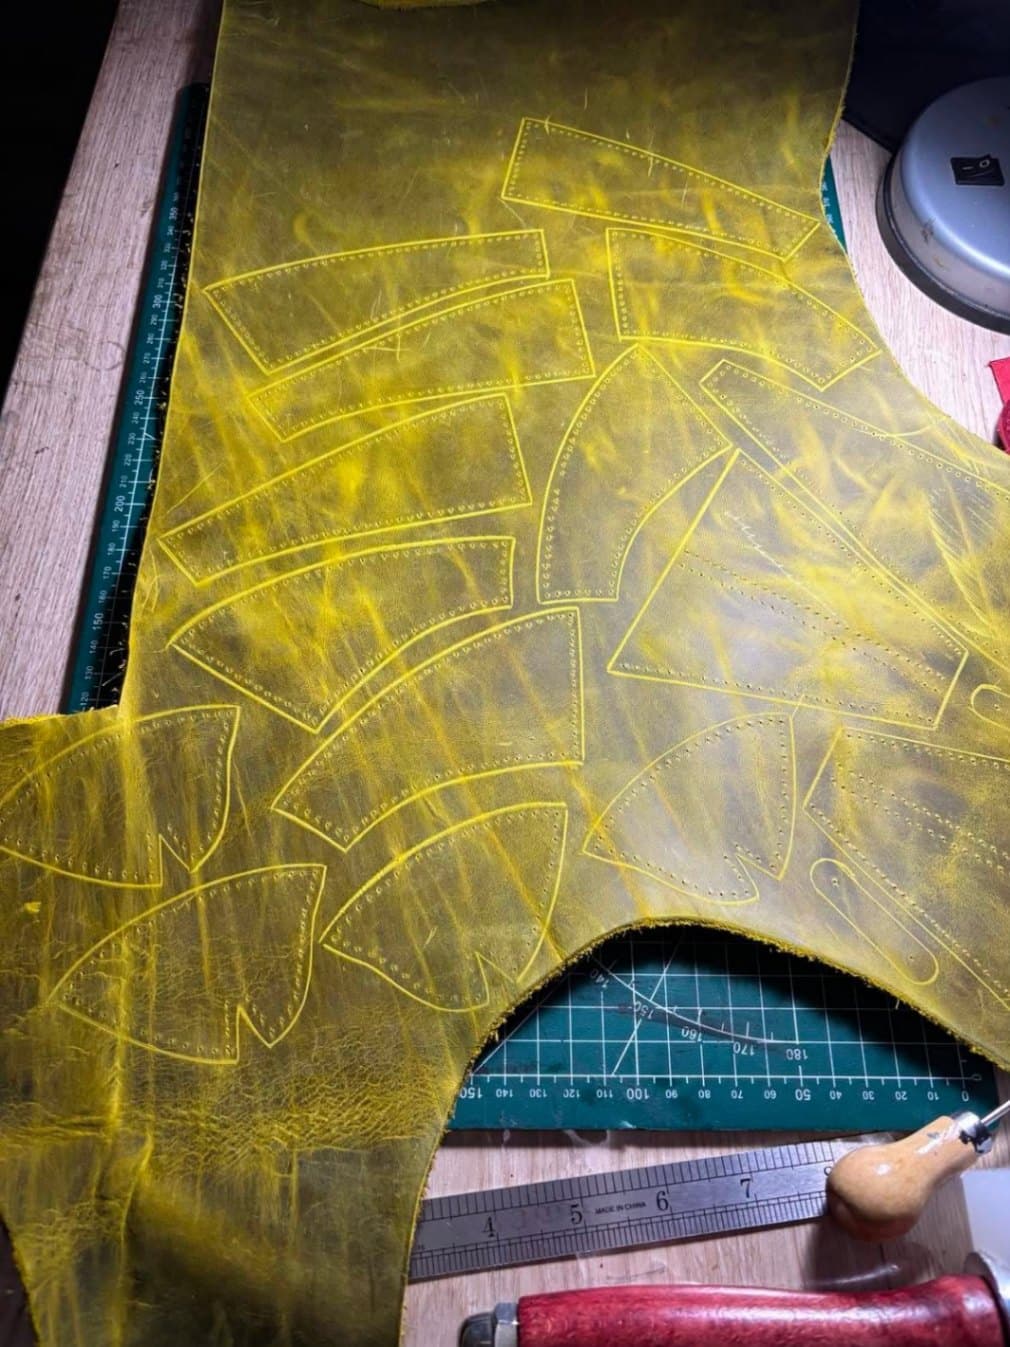
Marking and cutting out leather
The template is placed on the leather in such a way that we use the best part of the leather (avoiding flaws and cuts). The marking is done with a ruler or a special marker, and the cutting is done with a sharp knife or craft knife, in one motion, so that the edge comes out clean.
Thinning of the banks
The leather is thinned with a special tool at the folds and seams to prevent the thickness from building up when multiple layers are sewn together. This is especially important on handles and in the areas of locks.
Marking and making holes
Using a leather punch or contouring wheel, evenly spaced holes are marked for sewing, then sewn. Even spacing is important for the aesthetics of the seam.,
Sewing
Saddle Stitch This is a classic technique for hand-sewing leather — two needles, one thread, pass through each hole from both sides. Unlike machine stitching, the stitch will not break even if one thread breaks — this is especially important for durability.
Page processing
The cut edges are processed (rounded), then inset with water/wax and polished by rubbing with a wooden or metal tool — this gives the edge a smooth, professional look as well as protection.
Fittings installation
Buttons, buckles, and buckle rings are fastened with a press or hand hammer. The massive brass hardware I use requires precise centering — a mistake here is hard to correct.
Final processing
The surface is cleaned of dirt, a protective balm or wax (conditioning) is applied, which protects the leather from drying out and emphasizes the depth of the color. Finally, a final inspection is carried out - the strength of the seams, the strength of the fittings, and general cleanliness.
Made to last
Only full-grain, vegetable-tanned leather and solid brass — materials chosen to grow more beautiful with time. Each piece leaves the studio only when it is ready.